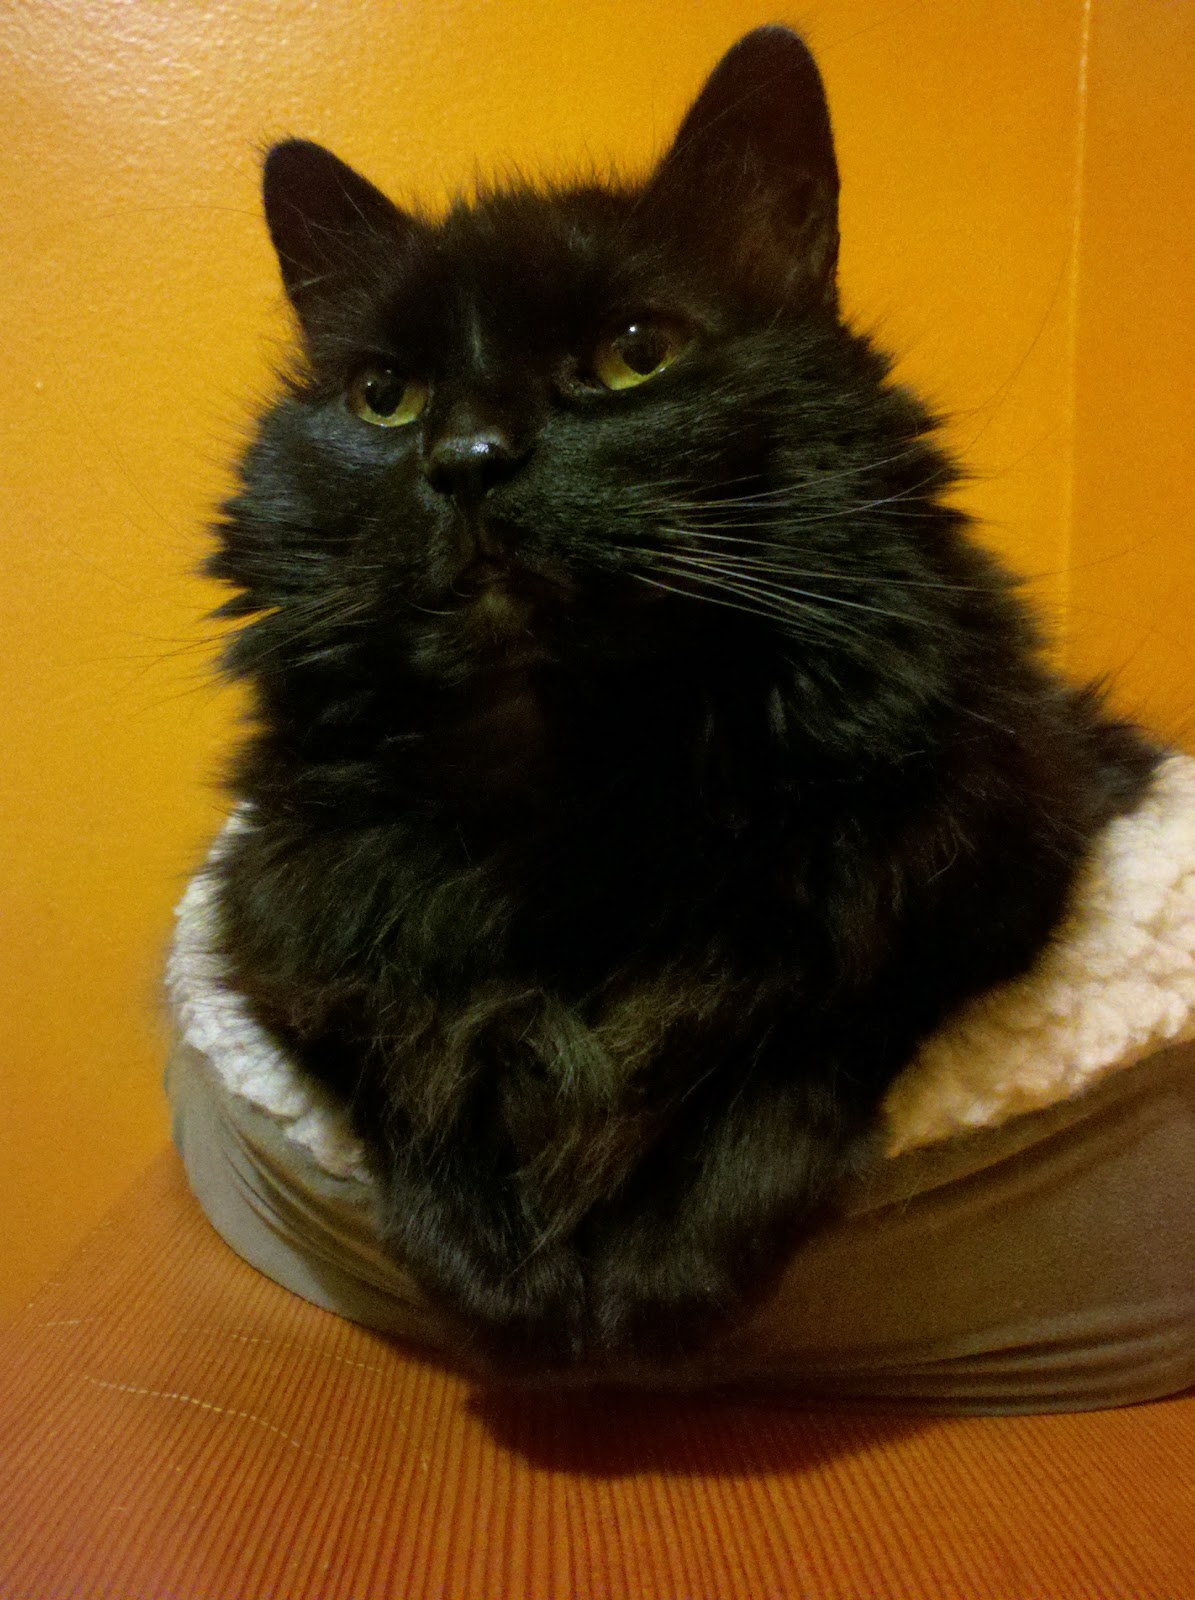
Monday, March 12, 2012

Two native plant gardening events this week


One week- two native plant gardening events!

Tuesday, March 13, Helena at the Lewis and Clark Library, 7 pm

Join me as I present a program to the Native Plant Society titled: "Conservation Gardening with Montana Native Plants for Montana Native Wildlife." 

Learn how to have a sustainable, less resource intensive native plant garden that is comfortable for people and inviting to a variety of wildlife. David will discuss plants, insects, birds and garden design that is fun, easy, and inexpensive. Gardening with Montana native plants is rewarding and within everyone's reach. David will present examples from his home garden that is in a small city lot in the middle of Missoula, receives no irrigation, contains over 100 species of native plants and has attracted over 60 species of birds, and countless insects.
Admission:  Free and open to the public.

Thursday, March 15, Missoula, Fort Missoula, 5:30- 7:30 pm
"Starting your native plants from seed"
Join my favorite botanist, Marilyn Marler, at the the Fort Missoula Native Plant Gardens, near the big silver water tower, for an evenng of native plant seed startng

Here is a description:
Establish your native plant garden by starting seeds early in the season. Marilyn Marler will provide all the tricks and tips you need to get your garden up and running as soon as the weather permits. This workshop will feature information, hands-on practice and tour of the garden to assist with your landscaping questions and spark ideas for your own garden.

Admission:  Suggested donation is $5, but MNHC members get in free (so why not just go ahead and become a member!)

Thursday, March 8, 2012

My Garden Rant Guest Rant: Honey bees suck

No honey bees here...
This post was originally published on Garden Rant (click here for the original post), if you haven't been to Garden Rant, check it out- it is one of the best garden blogs on earth (a little pun there for you).  Thanks to Susan Harris and the writers at Garden Rant for the opportunity to vent a little.

That’s right, they suck.  Someone had to say it.
If you want honey bees (Apis mellifera) for say, I don’t know, honey- that is great.  No problem.  If you have converted a heterogeneous, beautiful landscape of native plants and wildlife into a monoculture for crop production, and every plant requires pollination in the same, narrow, discrete window, honey bees are for you.
However, if you are interested in any of the following:  biodiversity, bee conservation, pollinator conservation and diversity, wildlife gardening, native plant landscaping, getting your native plant garden pollinated, or just plan learning about the really cool insects in your garden, than yes, honey bees suck.
Somewhere along the way of promoting awareness of pollinators and their role in plant, wildlife and bee conservation, people wove in honey bees.  This is really unfortunate, so I am trying to set the record straight. 
In our garden I have collected over 150 species of bees and “pollinators” and one of those species is honey bee.  In fact, honey bees in our garden are pretty uncommon, especially outside a narrow time of day and time of year.  The diverse species of native pollinators provide so much more than pollination to our garden.  Just as a small example, the larvae of the flower fly (Spilomaya spp.), a yellow jacket mimic, pictured below, are effective predators of aphids in the garden (including our vegetable garden).
Not a bee, but a fly (whose larvae eat aphids), trying to look like a yellowjacket!
I venture that honey bees are pretty ineffectual pollinators of most things- especially native species.  As far as colony collapse disorder, although academically interesting, don’t be fooled: it is not a conservation issue.
Honey bees are native to Eurasia (where most of our noxious weeds are coincidentally from), and share no evolutionary history with plants in the US, and in particular with plants of the intermountain west of Montana.  Consequently, they are not good nor effective pollinators of the diverse native plants we have here. They only will pollinate over a narrow range of dates and temperatures, and can only exploit certain sizes and shapes of plants.  Again, too narrow of a range to be effective. 
Too cold for honey bees
For example, in the Missoula valley, and in my garden, spring arrives with sagebrush buttercups (Ranunculus glaberrimus), that flower in late February or early March.  They often arrive when snow still covers the ground, most of days are barely above freezing, and the blooms can be rapid.  This time of the year, nary a honey bee is in sight or even able to survive- these blooms predate the hives trucked in from the south.  Native flowers come and go; blooming across different days (and some only at night) from snowy spring until late October, long after the honey bees head back down south or hunker down trying to survive.
No honeybees at night, either
Even as temperatures become more appealing to honey bees, morning and evening can be too cool for them to do much of anything beyond surviving.  Sure, on a warm July afternoon, honey bees will be out in force pollinating some things, but they don’t do much.   
Leave the milkweeds for the big fellas to pollinate

Our native pollinators, including moths, butterflies, bees, flies, beetles, ants, and others are so diverse in terms of habitats they occupy, body sizes and morphology, that than can pollinate and exploit a diversity of native plants that no truck load of honey bee hives consisting of identically sized and shaped honey bees could even imagine.
Don't count on a honey bee to pollinate this shooting star!
So, yes, honey bees are great for producing honey.  They are great for pollinating commercial crops (though their value is probably grossly overstated), but they have little place in conservation and little room in my garden.
Just another moth doing some pollinating in our garden, while imitating a yellowjacket!

Monday, March 5, 2012

Birdhouse Workshop, March 11

Birds are actively investigating nest sites now and if you want to learn how to get birds to nest in your garden this year, come to our birdhouse workshop this Sunday, March 11

When?  3-5pm


Location: Our backyard

What to bring:  Dress for the weather, camera, note taking stuff

What we'll do:  Go over different types of nest boxes and nesting platforms, talk about which bird species you can attract, explain how to install and maintain your nest boxes. We'll cover pests and how to avoid them, and handle examples of different species' nests and nesting materials

Reserve a spot!: Cost is only $15 but space is limited.  Please RSVP to Marilyn at 544-7189 or email us at info@butterflypropertiesllc.com.

We hope to see you then!


Wednesday, February 29, 2012

Upcoming Native Plant and Wildlife Gardening Programs: from Helena, MT to Gillette, WY

I have a few speaking engagements this spring in that I am really looking forward to in Helena, MT, Hamilton, MT and Gillette, WY.  If you live near these towns, I hope you can make it.  The garden programs will be a lot like my blog, but live, and without cats.


Here are some details:

Helena, Montana:  Kelsey Chapter of the Montana Native Plant Society 
Tuesday, March 13, 7:00 pmLewis and Clark Library, Helena Montana
Free and open to the public!

Program title:  Gardening with Montana Native Plants for Montana Native Wildlife
For more information, go to http://www.mtnativeplants.org/Kelsey_Chapter

Hamilton, Montana:  Green Thumbs Up Gardening Club
Thursday, April 12, 2:00 pm
Bitterroot Public Library
Contact Susan Duff for more information 961-5455


Gillette, Wyoming:  Wyoming Master Gardener Conference 
Friday, April 27,  8-9 pm, Gillette College
Program Title:  Gardening with Native Plants 

This conference is open to the public and you do not need to be a Master Gardener to attend. The conference will bring together authors, Master Gardeners, vendors, horticulture experts, keynote speakers, and backyard gardeners to share enthusiasm and knowledge.
To view the complete conference agenda, click here.

I hope to see you at one of these programs!

Monday, February 27, 2012

Junebug Wins!


Junebug has been elected as the 2011 Cat of the Year!  Thank you to all that voted this year, the race was closer than in the past, Natalie and Alex were in it until the end.  However, Natalie, might point to the low voter turnout.  I can’t help but wonder if civic-minded readers of Montana Wildlife Gardener have been occupied with the GOP nominations or something. 

Junebug now wears the crown as the only two-time Cat of the Year champion (Junebug won the title by a landslide in 2010).  I would have posted the news sooner, but the little Bug is facing some health issues, and we wanted to make sure this announcement was made when she could enjoy her victory.

We announced the award this weekend.  Natalie had no comment.  Alex ran manically across the room, jumped and clung to the side of our favorite cloth settee.  It was as if he had no idea what we were talking about.  Junebug played it cool; cool as the other side of the pillow.  
Junebug waits patiently for her reward.  Yes, she is that small.
For her victory, she was rewarded with her favorite between meal snack- diced venison trim, and a small bowl of blood.
Victory in 2011!  Does Junebug taste a three-peat for 2012?
Thank you all for voting, and support your local Humane Society, or ours!

Wednesday, February 22, 2012

How to remove a lawn; part 2

Spring is coming and I know a lot of people are thinking about expanding or planting a native plant garden. Inevitably the first question is about site preparation and, specifically what to do with the lawn that is between them and their wildlife and native plant garden destiny.

How to remove a lawn is by far the most often searched phrase that leads people to my blog, and that post (titled the same) is far and away my most viewed page.

I thought I’d update the post with some more information and details based on questions I receive on this blog, in my speaking engagements and from mine and my wife’s native plant, wildlife and sustainable garden coaching business, Butterfly Properties (yes, my last name is German for "butterfly").

Like painting a house or so many other things, success is only guaranteed by the mundane tasks of preparation.  Site preparation is the inglorious hard work that is the most important part, but often the part that gets short cut.  And what is true for painting a house is true for gardening and native plant landscaping.  Frustration, failure, dissatisfaction or disillusionment can often be traced back to skipping steps and taking short cuts in site preparation.  In gardening terms, specifically in a native plant garden  that comes down to getting rid of the existing lawn and keeping it out.

In defense of the sod cutter. 
Sod cutters are hard to use, they are loud, they run on gas, and they are the best tool for the job.
Although meticulously removing sod is always my suggestion, I am always met with questions where people would like an alternative.  An alternative that many perceive is easier, more earth friendly, cheaper, quicker, etc...  around here (Missoula) for the last few years, "lasagna" gardens or sheet mulching has become very popular.  Initially popular, that is, it becomes very unpopular when people have to remove it, or deal with weeds in the lasagna.  Typically what leads to failure is not giving the lasagna garden time enough to work, not dealing with the existing weeds, our climate, or a combination of the three.
The idea of a lasagna garden is a nice one, and one that should be left for the idea book. A lasagna garden can work, I know, but I don't recommend it.

In my blog (and in our garden coaching business) I advocate for physically removing the lawn and I still do.  This is the thing most people are resistant to do, but I think it is still the best and most effective way.  It is also the quickest, and depending on you method, it could be the least resource intensive.  You can dig it all up with a hand sod lifter or even a square bladed shovel and then compost it on site- This has to be one of  the most, if not the most, resource un-intensive methods for lawn removal.

Composting the sod does take time and a lot of space (depending on the quantity of sod you are removing).  Also if you are going to go this route, dry the sod out (under a tarp or something and them screen the soil off  first. 

The inevitable questions:
What about solarizing? Using cardboard?  Using a rototiller? Turning the sod upside down?
There is always someone that will say it worked for them, but there are probably three other people out there that have a different experience.  We have removed a lot of lawn, and the sod cutter (in one form or another) is always our method. My wife and I have landscaped public areas, little parks (like the Native Plant Garden at 8th and Grant), and other places that get very little maintenance, and the essential steps to ensuring that the areas stay weed free are below.

The typical steps (from How to Remove a Lawn):

  1. remove the sod
  2. remove any weeds the sod cutter missed
  3. wait a little while to see what germinates or grows back than remove that, too.  
  4. cover soil with newspaper or cardboard
  5. apply mulch
  6. plant


Although I provide more detail on other aspects of lawn removal here, these are some questions 

Is it hard to use a sod cutter?  Yes.  It takes work, depending on your soil (or lack of soil, like in many Missoula yards) it can be a beast of a job.  I am not saying don’t do it, just be prepared. One of the biggest mistakes people make is removing too much soil, and this leads to a lot of extra work.  
It is critical to set the sod cutter at the proper depth- you don’t want to remove perfectly good soil, just get below the rooting depth of the grass. 
Although you can plant right away, it's better to wait and see what comes up. But don’t wait too long, because you will be inviting anything and everything from germinating.

Is lawn edging necessary?
Yes, unless you really enjoyed removing the sod and want to keep doing it for years to come. 
Edging is very effective, if installed correctly.  Buy the biggest (deepest) kind possible.  Aesthetically, metal edgings looks the best, steel or aluminum.  Metal edging has the smallest profile and creates a nice clean look. Although I like steel the best, it is the most expensive and the hardest to work with.  For most homeowners, I suggest plastic edging.  The main criticism with plastic edging is from when it is improperly installed and it sits up too high.  This is a problem for a several reasons.  First, aesthetically, it is ugly.  Second, if it is too high, it can work its way out of the ground through the freeze/ thaw cycle.  Third it is ugly.  Fourth, if it is set too high, it may allow rhizomes and runners to get underneath and invade the lawn-less area.    Did I mention that if you set it too, high it is ugly?  Just set the edging so it is just proud of the surface of the soil.  If installed correctly, you shouldn't really notice it.

One great source for lawn edging in Missoula is at Home ReSource.  It always seems like they have some there and it is a great thing to re-use.

The final suggestion is about the size of the project.  This is another thing that can lead to disillusionment.  Only remove what you can plant in the near future (could be a week or season, depending on your time and goals)- don’t embark on too big of a project.  I'd rather someone gets satisfied completing a small project and has inspiration to continue, instead of attempting something too large and being overwhelmed by trying to do too much. Unfortunately, the only way to know what is too big or too small is to try.
Having said all that, another mistake is not building beds big enough!  Decide how big a bed you think you need, draw it out, wait a little while, than double it.  No one ever says "I wish I had more lawn” when they are removing some. 

The good news is, like with more gardening projects, you can add more later (or remove more lawn that is).

Monday, February 20, 2012

2012 Garden Projects

It is time for my annual assessment of what I said I'd do, and what I hope to complete in the new year.  Now is a great time to make lists and review what worked last year and what didn't.  I like to review everything from vegetable garden plans, to seed starting and landscaping ideas.  This is actually one of my main reasons for a maintaining a blog- to be able to organize and record all these things- it is truly an online garden journal.

Last year, this was my plan:

  • Make a new 3 bin composter
  • Plant some trees in decadent aspen stand. I am thinking mountain ash (Sorbus scopulina), but we'll see. The aspen have performed admirably, but it is time to move on. Plus, we have the same number of aspen in our garden, they are just in different places.- Done!

  • Prune the white clematis (Clematis ligusticafolia) on the garage, again a bigger job than you'd think.
  • Rearrange some plants in the front prairie, including getting rid of a green rabbit brush (Ericameria viscidiflora) and adding more shrubby trees close to the house.  Done!
  • Replace urbanite in front of the greenhouse and on the side yard that has settled too low. Replace it with larger chunks. It became painfully obvious this past week that these low spots were too annoying to live with
  • Start some native plants in the greenhouse. Always a good goal. I want more sticky geraniums (Geranium viscosissimum) in the garden (photo on the top of the post).
  • Make a "cut-off" trail in front of the onion bed. The area near the grill shed is kind of a congested area in the garden and by adding this new trail/ path, people will be able to flow better.  Done!
  • Stream 2 nest box cameras simultaneously this year. Last year I streamed the chickadee camera, and later the flicker camera. While I am at it, maybe I should invest in another camera to stream the nuthatch box- done in 2012!
According to that list I accomplished about 50% of the things I wanted to do.  But along the way, I added more projects, including:

There were probably a few other things I am forgetting, so it was not a total failure!

This year, I hope to do a few things I promised to do last year, and some more.  So, here are my projects for 2012, in no particular order:
  • Make a three bin composter- I have been saying this for a few years, and this year it will happen.  I will do it or else it will be on the 2013 list of things to do!
  • Prune the white clematis on the arbor behind the shop (always ion my list of things to do, sometime I do it).
  • Install a nest box camera inside the nuthatch box (I did this already this morning, so I am kind of cheating on my list).
  • Move the apple tree to the north east corner of the vegetable garden so its gets more light and water.
  • Moving the apple tree will require relocating the rain barrel and path, then a little re landscaping ion the new and former location
  • add a little fence or wall between the outdoor dining room and the hammock area (in the bottom right hand corner of the photo below).  This is one of these problem areas, that I am always reworking.  Maybe a little something in the way of hard-scaping will do the trick

  • Install power out to the greenhouse.  This has been on my list for a few years, whether I write it down or not.
  • Add some more shrubs to the front of the house- I've been working on this for a couple of years and I think it is starting to come together.
  • Replace urbanite in front of the greenhouse and on the side yard that has settled too low. Replace it with larger chunks. It became painfully obvious last year that these low spots were too annoying to live with (it turns out, it was easier than I thought it would be to ignore this!)
  • Connect the urbanite path in the back all the way to the alley.
  • Continue my insect collection- this has been so amazing and rewarding.  


  • One more project- I can't believe I forgot this one- a fence for the front yard.  I've been collecting vintage, double-hoop, woven wire fencing from Home ReSource for a year for this.  I haven't worked out the details for the design, but when I'm done, I'll be sure to post pictures.


As always, lots to do.  Every year, at some point I struggle to think of projects, and when I sit down to make a list the projects are all there.  

A garden is never finished.  Thank goodness.


Thursday, January 19, 2012

Now is a great time to design paths. In the snow.

You might not be thinking about garden design right now, but with all the snow our part of the country just received, you should be.  Now is a great time to grab the snow shovel and consider paths in the garden.  Having a lot of snow on the ground is like a fresh canvas (albeit a 3D one) to draw or carve out paths and the locations of other features.  You can even erase them by covered them up with snow.  So, take your shovel, and start creating.  Spend some time looking at the paths you've created, but more importantly use them over the next few days and weeks.  And don't forget, add some curves in your paths!

Paths aren't the only things the snow lends itself to- hills and mounds are fun to create now, without the expense and labor of using soil.  If you've ever wanted to try to add some interest in your landscape with some topography the snow offers a great, and ephemeral opportunity.
No matter what you decide, take some pictures are make some sketches, because the snow won't last forever!

And, by the way, loyal readers of Montana Wildlife Gardener, Junebug soundly defeated Alex and Natalie to repeat as title holder of Cat of the Year.  A post summarizing her victory (the only two-time champion) is coming soon.


Sunday, January 1, 2012

2011 Cat of the Year: Voting is Now Open!


Squeak, 1993-2011
It's time to vote for the coveted title of 2011 Cat of the Year. 

The voting was lively last year, with touching comments submitted and several voters expressing very strong opinions, and it is clear that the readers of Montana Wildlife Gardener take the responsibility of voting seriously. We apologize for the delay in getting this year's contest up and running, but we experienced a high volume of veterinary trips and health scares in late December, and we had to incorporate those results into the competition (in the interest of fairness and full disclosure).

We offer the 2011 Cat of the Year (COTY) Award in loving memory of Squeak (pictured above).  We loved Squeak dearly and were very sad to lose her. She died from complications of old age (she was about 18) and went quickly.  As much as we miss her and honor her memory, we regret that she is ineligible for the 2011 COTY Award.  She passed away in May, which means she did not meet the minimum requirement of participating in 50% of the year. But she was a good cat.

Voting will be open until January 15 2012; polls close at midnight.
As you recall, Junebug was the 2010 COTY winning by a landslide, receiving 54% of the vote and easily winning over the electoral college to claim the coveted title. Alex, the 2009 champion, made a strong showing, but ultimately he was no match of the giant political machine that is Junebug (that was a shout-out to Missoula local politics).

Obviously, this has nothing to do with wildlife gardening or native plant landscaping, other than to say keep your cats indoors.

The nominees are listed below (alphabetically).

Alex in the foreground; Natalie staring daggers in the back of his head

Alex 
Age: 10

Weight: 7.5 lbs

Breed: Turkish angora x Persian

Background: Innocent victim of a hoarder. He was at the shelter for 2 years because no one wanted to adopt an adult black cat. We adopted him in summer of 2007 as a friend for Natalie. Boy was that a bad idea.

Pros: Good attitude. Greets all visitors at the door. Does fantastic acrobatics. Plays hard.  Tries to play with the other cats (they don't play back), and he respects Junebug and her issues.  After the passing of Squeak, the undisputed leader of the house, Alex has assumed a more prominent leadership role.  This despite his age (our youngest cat), and that he is about 56% the size of Natalie.

Cons: Rarely purrs. Bites your toes while you sleep. Sometime bolts out the door to check out the yard (but in his defense he stops after 10 feet).

Accomplishments in 2011: Alex grew one white whisker in 2011, contributing to his more distinguished appearance.  Although he lost his closest friend, Squeak, this year, Alex maintains a cheerful and outgoing personality.
Squeak and her friend Alex, enjoy the sun.

Gregarious, yet modest and unassuming, Alex just likes to be close to people.  He spends the most time in Junebug's room- he loves it there, and he never uses her litter box (see below). His ¾ length tail, though not new in 2011, is always worth some points. He had a strong year overall, but in November we discovered pre-cancerous skin tumors on his trunk and neck.  On the upside, he has been very stoic about this and hadn't complained at all. On the downside, if he had called them to our attention sooner, he might have ended up getting a dental check up sooner and avoided 3 extractions. Alex: it's ok to ask for help sometimes.

Expenses: 2 vet visits, 3 teeth pulled, 5 tumors excised.
Cost per pound: $80

Junebug cleans yet another plate in 2011


Junebug
Age: 12 (No one expected her to make it this long)

Weight: 4 lbs 1 oz.  (down 1.5 pounds since last year)

Breed: Silvertip Persian

Background: Oh, June. We adopted June from the Humane Society in fall 2009 after she suffered years of horrific neglect.

Pros: Ridiculously cute with a big purr. Cuddly, despite her very bony little arthritic body. Her only two teeth are in pretty good shape (although since she is allegic to her own tooth enamel, we have to give her daily antibiotics to keep those 2 teeth there).  Despite only 2 teeth (both on the bottom), she eats more than the other 2 cats combined.  Given her love for meat, blood, and related, another pro is that she has never tasted our blood. If she ever tastes human blood, well, you can imagine.

Cons: Her litter box improvement actually plateaued in 2010.  Whereas her litter box use has "improved" since adoption it is only because we make sure she is in her room when she has to use it.  Side note- she will only use her litter box if she is in her room, and only if no other cat ever uses it. Fortunately she lives a simple life and it's easy (kind of) to predict her schedule. Also, we can't make eye contact with her when she is considering using the litter box. Oh, June.

She doesn't like to take her medicine (she gets 2/day and 1 every other day).  She is not a cat for beginners. She also helps with the dishes (she will eat anything).

Accomplishments this year: No teeth extractions, and only 2 or 3 vet visits all year (more than a 50% decrease from last year!). Although June is a finicky eater and her canned cat food bills add up, we have switched her over to a more wild game based diet.  In fact, all the scrap we once would throw away, we now save for June and grind it up for her.  She is saving our wallet and the environment.  She continues to improve her grooming habits (well, they are not getting worse). She is okay with home-administered haircuts.  She sleeps by our heads in bed with us every night, and she lets us scratch her belly.
Ventured outside a couple of times this summer (under close supervision).
Junebug went outside in 2011

Editors note:  this is not an activity we condone for cats, but her vet said that June can do anything she wants.

Expenses: multiple vet visits, daily anti-anxiety meds and antibiotics, constant awareness of her litter box routine

Cost per pound: $50, but priceless, really.

Natalie in one of her several beds.


Natalie
Age: 16

Weight: 13 lbs.

Breed: Domestic long hair

Background: Disemboweled by her previous owners’ dog. Medically neglected. Borderline diabetic (type 2 lifestyle diabetes, I'm calling it what is is). She’d prefer to be the only cat in our house.

Pros: Classic beauty, good stomper, good at polishing things with her declawed paws (including the computer monitor when you are trying to read or write something). Great purr, skilled exfoliator of the human face.  Very helpful when you are reading a book, looking at a monitor or doing anything that she can sit on, sit in front of, or otherwise interrupt (see below). Very friendly with human visitors.

Cons: Diva complex. Not a team player. Generally dislikes Alex and Junebug (who she doesn't recognize as a cat).  Not to anthropomorphize, but it really seemed like she was happier after Squeak died.  I think there was gloating.  Natalie is not very helpful when you are reading a book, looking at a monitor or doing anything that she can sit on sit in front of or otherwise interrupt (see above)

Accomplishments: Natalie continues to be the largest of our cats and had no surgeries this year. Glowing report from the vet (who she hates). She is a wonderful, happy cat, and if not for her utter disdain of Alex and Junebug (and Squeak), this would be her title to lose every year.

Cost: Expensive diabetic food, but only 1 vet visit this year.

Cost per pound: $7.70

Saturday, November 19, 2011

Make your own native plant suet for the birds in your garden


Making your own suet for a backyard suet feeder is a fun project for the fall.  Suet, by the way, is animal fat, and it is a popular winter bird food. You can buy suet for bird feeders in the store, and often they have berries or insects or nuts mixed in.  "Suet" technically refers to the animal product (fat) but in the context of bird feeding, it refers to the fat plus whatever else is in there. More on fat later.

With the holiday season coming, homemade suet combined with an easy to make suet feeder is a great holioday gift for your bird-loving friends, or a holiday gift to the birds in your garden.  Plus, it is great way to use an otherwise unused product (tallow aka fat).

I am not a huge fan of bird feeders (click here for some thoughts on why), but I do set out a few suet feeders in the winter.  The main reason I don't like bird feeders is that they are not really effective if your goal is to get a lot of diversity.  Of the 60 species of birds that use our garden, less than 20% use the feeders.  Birds come to the garden for the structure, for the native plants and for insects, seeds, and berries, not the bird feeders.  However in the winter, the birds we are likely to encounter in the garden eat suet and need the high calories and fat it provides, and winter is an important time to consider your wildlife garden.  Suet is a natural food that in the wild (before backyard feeders were invented) comes from animal carcasses- either as a result of natural death (old age),winter kill or predators.  This is a seasonally importatnt source of food for a variety of birds ranging from little nuthatches and chickadees to ravens and magpies (and bald eagles, though we don't get them in our garden).

My favorite suet feeder is a rib cage.  It might look odd, but the birds recognize it!  Click here for more information)

Making your own suet is easy, and free, especially if your hunt or have access to suet.  A word about suet- there are many kinds of animal fat, and here I use the term "suet" to describe tallow, or the thick, chalky, white fat found just below the hide on an animal that provides them with insulation.  This is the least palatable of the fats and is discarded when butchering game.  Tallow covers the back and hind quarters and the rump of animals.  This is different from other types of fat, and is not "trim" which contains meat that you might get from a butcher to mix in with ground meat for burger.

If you butcher your own animals, you know what this is and you have a source for it, but even if you don't, or don't have a friend that hunts, you can still get this from the butcher (it is really cheap).  Just make sure to explain what you are looking for and what you are using it for.  You don't want to get anything that has meat on it.

Anyway, back to the bird food.  Below are all the ingredients we used today, and I got these from a quick lap around our garden- blue elderberries (Sambucus cerulea), rose hips from Wood's rose (Rosa woodsii), and mountain ash berries (Sorbus scoulina).  All native plants.

This brings up another reason I don't like conventional bird foods and mixes you get in the store: they contain plants that are either not suited to the native birds you might be trying to attract or there are weed seeds in the mix.  By using native plants you are guaranteed weeds won't be spread around.  Rose hips and elderberries are some of ther last berries to get eaten- birds seem to rely on freezing to make them more palatable.

If you don't have any berries or seeds in your garden, this is a great opportunity to get outside and look for what is available in your area.  And while to are out there, see if you can find a log for a suet feeder (see below).

This is what the tallow looks like.
The next step is optional.  I like to run the tallow through a grinder through a coarse grinding plate.  This breaks it down to uniform pieces and makes the rendering go quicker and smoother.
Here is the coarsely ground tallow.
The key to rendering the tallow is to melt it over a low heat.  You just want to melt the fat, do not boil it or cook it.  Stir it frequently, and, as is liquefies, and add more.  Once it is all rendered you could skim the top to get out any dirt, meat or cartilage, or if you really want, you could run it through a sieve, strainer or cheese cloth.  I don't think it is really necessary, though.

Add the nuts or berries to the rendered tallow and mix it thoroughly.  Again, you don't need to cook it, just make sure it is mixed and smooth.  There are many suet recipes that suggest adding flour or corn starch, but I don't think it is really necessary.

Once it is all mixed, ladle into a form that best fits you suet feeder.  My favorite suet feeder (apart from a rib cage) is really simple to make and is really enjoyed by the birds.  Click here for more information on how to build it, but all it is is a log with some 1-2" deep holes drilled into it.
Because of these cavities I like to put the suet into ice cube trays.  Each hole in the suet feeder is about the size of an ice cube, so it makes the kind of messy job of filling the feeder, easy.
Set the suet outside to cool , and then fill up and install your suet feeder.