Tuesday, April 26, 2011
This is what happens at the nest box while I'm at work...
So, I've always wondered what goes on when I am not watching. That is one of the reasons we installed nest box cameras in the flicker and chickadee boxes. In order to see if anyone is checking out the boxes for nesting, I devised what I call a NIB (Nesting Indicator Bar), some might call it a twig. I install the NIB in the entry hole of the nest box, and if it gets removed, I know something has been exploring the nest box. So, when I leave for work, the NIB is in place, and when I get home, it is gone. Sure, I know something has been in there, but what happened? To figure this out, I recently installed a motion activated camera in front of the nut hatch box. For eight years or so red breasted nuthatches have been nesting in this box, so I assumed that every time the NIB is gone, it is because a nuthatch took it out.
In the end I was right, but if you watch the slide show, you'll see a lot more happens. Watch closely and you'll see that it begins and ends with a nuthatch on the box and excavating, but in between it gets visited by a black capped chickadee, a northern flicker, a house sparrow, my neighbor's cat and a squirrel. Let's just say, that squirrel, isn't going to bother the nuthatches.
By the way, the nuthatches have excavated the box, and are just about done filling it with nesting materials.
Sunday, April 24, 2011
Green Roof for the Grill Shed; Day 1 slideshow
Yesterday, I replaced the metal roof on my grill shed with a green roof. Above is a photo album from the first day of construction, today I am going to finish adding the soil mixture and plant some plants. I'll have more photos and a longer post coming soon with an explanation of the green roof.
Thursday, April 14, 2011
How to plant a plant

This one sounds pretty basic and simple for a gardening blog, and at the risk of boring or offending some readers, I do think it is really important, not just knowing how to plant a plant, but why certain steps are done. This is intended for Montana native plants (planted in Montana), but for the most part is applicable to most others (expect things like orchids, hemi- parasites and saprophytes, I guess- you are on your own there).

- Locate utilities (plan to do this if you are going to dig deeper than a foot), this is typically a free and fast service
- Determine location- spend a day or so with the plant where you think you’d like it (this is especially important if you are planting a tree or something that will get really large), a small forb can be relocated, but you don’t’ want to plant a tree I the wrong spot. On the other hand, nothing is permanent.
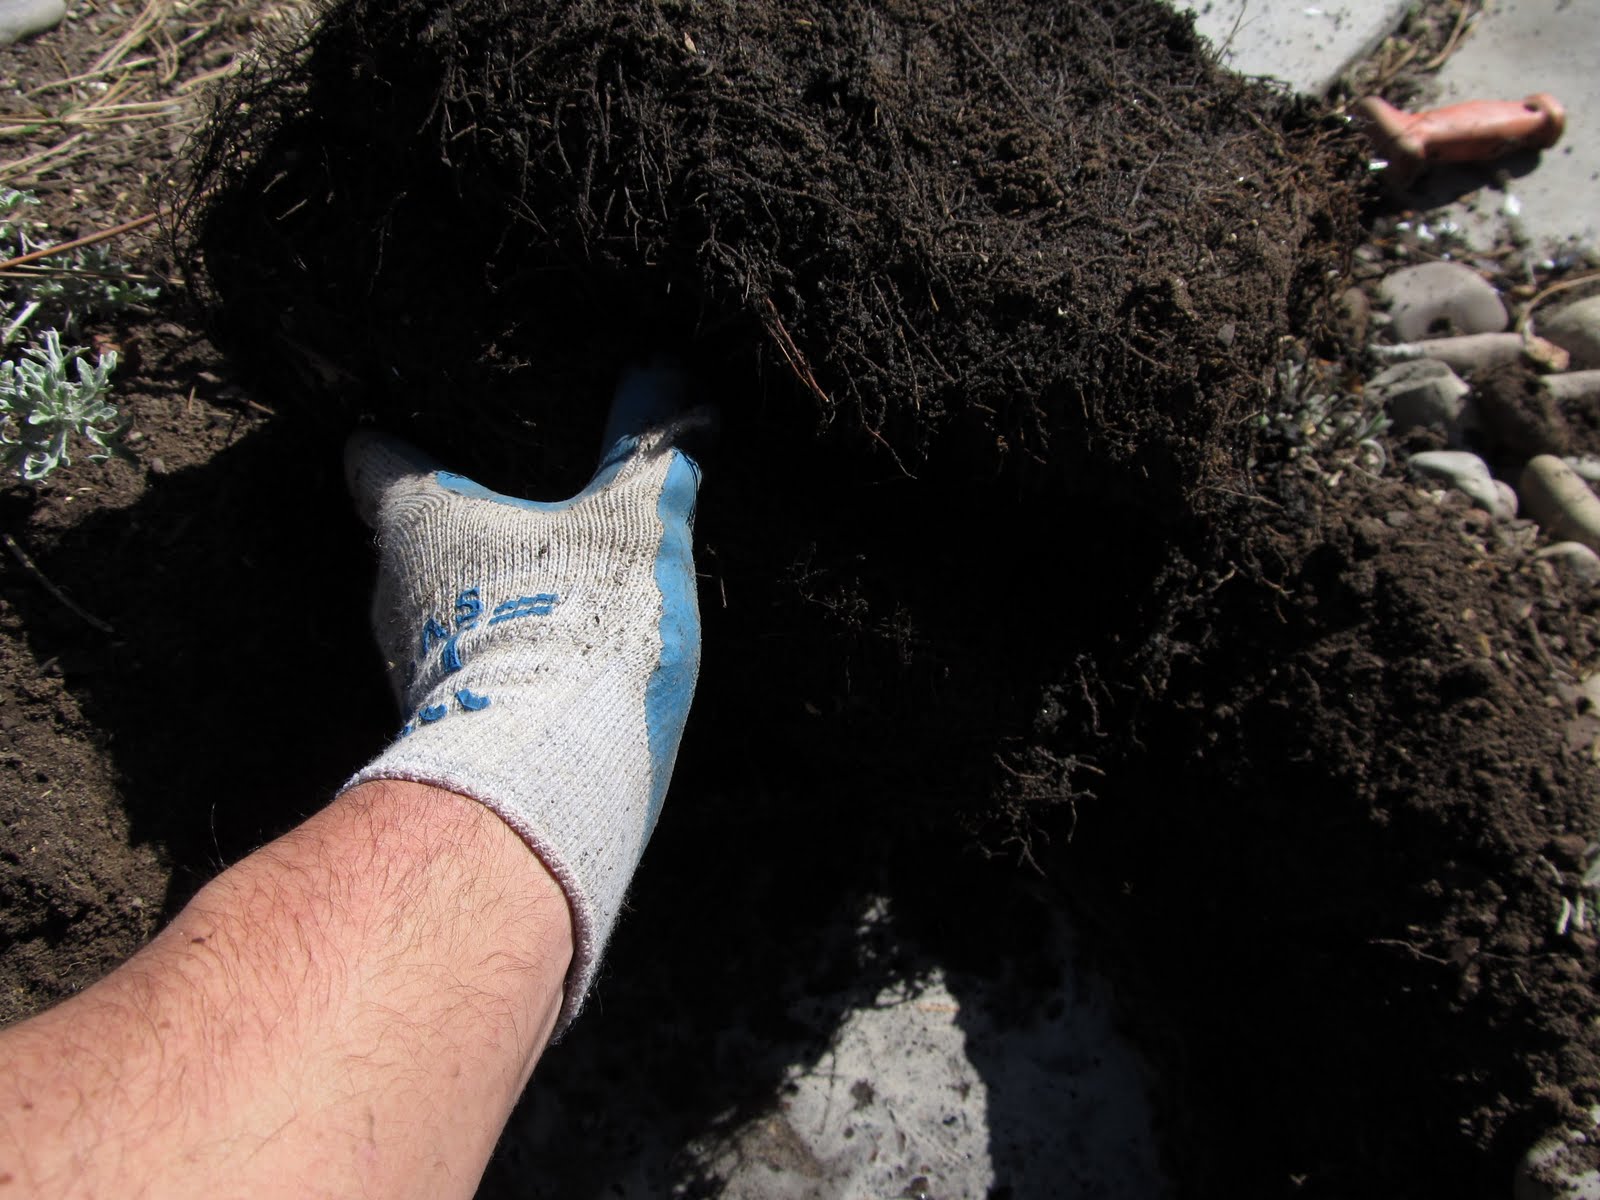
- Dig a hole that is at least twice as wide as the container the plant is in and deeper than the container height
- Set plant in hole- check the location of the plant and check hole dimensions. In the photo below, the hole is not wide enough.

- Determine final height- This is important, you want the plant to set proud, or higher than the surrounding surface- you want to have a “crowned” effect. The old adage is “plant it high, it won’t die. Plant it low, it won’t grow.” Words to live by. Add loose soil to bring plant up to this height.
- The reason for digging the hole deeper than you need to is so you can loosen the soil below the plant and encourage quick root growth and plant establishment. There are some exceptions to this, though, and some plants that root from the stem (like tomatoes and really water loving plants, I'm sure there are some others, but none really come to mind).
- Remove the plant and fill the hole with water. Wait for the water to drain from the hole (as an aside, if you’ve ever wondered if you have well-drained soil or poorly-drained soil, you’ll find out now).
- Remove the plant from the container (carefully). If the plant is root bound (hopefully it is- this is a good sign of the plant being ready to plant), break up the roots. This is important and don’t be gentle or shy. You want to loosen the roots and break up the tendency to grow in the previous container. You want the plant to spread its roots and exploit resources. If the roots stay bound they will quickly deplete the nutrients form the soil. Also, by breaking the roots, the plants will release a hormone that prompts root growth. Don’t however, break any taproots, or major roots- you are just trying to break the roots free of the container shape. The only exception to this is if you are planting fairly mature annuals or if you intend to do a lot of feeding or something. I don’t know why, but the technique of not breaking the root ball up seems to be all the rage now, but I don’t agree with it, nor do I have any experiences to suggest you should not do it.

- Depending on how tightly bound the roots are, you may need a soil knife (I am very partial to the A.M. Leonard Soil knife it is one of my favorite tools), or even a pruning saw will work great.
- OK, now that you have abused the plant (kidding, you did the right thing, really) set it in the hole. Since this is a native plant, you don’t need any fertilizer, soil amendment, compost or anything! In fact adding too much compost or nutrients can be deleterious to the plant- it can lead to rapid leaf and stem growth, poor or shallow root development, and a faster life-cycle- that is, they might flower their heads off the first year and die. In ecology it is like switching from r selected (species whose traits are selected to emphasize high growth rate and short life span) to K selected (slower growth, more investment in offspring, longer lived) traits. Most of our native plans are water limited and slow growing (long-lived). They have adaptations to deal with seasonally scarce nutrients and water sources. Don’t over water or feed our plants.
- The only exception to this is if the plant is damaged or severely stressed prior to planting, in that case you may have to add some nutrients to correct a problem, but not to promote excessive growth.
- Stand back and see if the plant is where you want it, and the best "face" is forward, make any adjustments, and add some more water and let it drain. This might dislodge soil form the roots, but ultimately it will help remove any air pockets (aka, root killers). Add soil, and when you get it about half way full, water again and let it drain- this step should get rid of any air spaces. Finish filling the hole, and crowning the top. Water again until it is saturated.
- Mulch. Mulch is really important, but don’t add too much around the base- you don’t want to end up planting to plant too low (see above and read adage), or promoting secondary root growth around the base.

- Step back and admire your work. Plan on watering every other day or every third day for a month, and then weekly thereafter (depending on weather, precipitation, plant species, etc...) through the first growing season. As always, water deeply and infrequently to promote deep roots.
Saturday, April 9, 2011
Black capped chickadee nest box excavation in full swing!
The Black capped chickadees have been really actively excavating the nest box in our backyard today. Click on the above video for an example, and follow along as they complete the cavity excavation, build a nest and raise some chicks. Stay tuned, and follow all the action on the nest box camera by clicking here.
Thursday, April 7, 2011
Chickadee Nest Box Camera is Live!... sort of
 |
| Camera installed in the chickadee nest box- this photo is from 2010. |
Here is the link to the broadcast of their nest box. And, just to warn you again, it will just look like sawdust for a while, it is still pretty early, but I can't help myself.
It was really incredible watching the nest box cameras last year, and if you visit the the website you can see recorded videos from last year. You can also read more about the cameras I installed in some posts from last year by clicking here, here and here.
Below is a little example of the chickadees getting fed last year, and an example of what is in store from the camera this year.
I also have a nest box camera in the northern flicker box, and once the flickers excavte the box enough to uncover the camera, I'll stream that, too. So, stay tuned- it should be an exciting spring.
Sunday, April 3, 2011
Native Plant Gardening Workshop Wrap-up
 |
| Karen Brower address the group before showing her amazing presentation on Penstemons. |
 |
| Catherine Cain tells the audience to start blogging! |
In fact, one of the speakers, Kathy of Blackfoot Native Plant Nursery, just started a blog of her own http://blackfootnativeplants.wordpress.com (perhaps inspired by the workshop agenda).
 |
| Kathy from Blackfoot Native Plant Nursery sells some plants- the first plant sale of the year! |
 |
| Click here to download presentation |
Also, here are some links to posts on my blog that have more information about topics I covered
- How to build a native bee box (including a link to download a field guide to Montana Native bees)
- The ecology of quaking aspen in our yard
- The ecology of yellow evening primrose
- Mixed feelings for bird feeders
- Hummingbird plants
- Growing a bird garden (also a link to download a copy of the article featuring our garden in Montana Outdoors).
- Bird house basics (including a little video of a nut hatch excavating a nest box)
- Spring cleaning for nest boxes
- How to build a brush pile
- Plant a standing snag for wildlife
Subscribe to:
Posts (Atom)